TL;DR:
While real wood flooring looks stunning in a kitchen, it requires strict protection against water damage. To safeguard your investment, always choose dimensionally stable engineered hardwood rather than solid timber, apply a site-applied liquid sealer post-installation to lock the joints, and follow a strict 30-second cleanup rule for all spills. Protect high-risk sink areas with breathable felt-backed mats, run your extractor fan to clear cooking humidity, and use a barely damp microfiber spray mop instead of a traditional wet mop to keep your wood floors flat, pristine, and beautiful for decades.
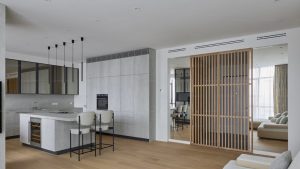
Installing real timber flooring in a kitchen is one of the most effective ways to introduce warmth, luxury, and visual continuity to a home, particularly in modern open-plan living spaces. However, the kitchen is a high-stakes environment for natural wood. Between plumbing lines, dishwashers, boiling pots, and accidental spills, your floor faces constant exposure to moisture and temperature fluctuations.
Wood is naturally hygroscopic, meaning it acts like a sponge—absorbing and releasing moisture from its surroundings. Left unprotected, excessive water exposure will lead to irreversible structural failures, including cupping (where the edges of the boards rise higher than the center), buckling, or delamination (where the layered bonds of the timber break apart).
To enjoy the beauty of authentic wood without the constant fear of ruined planks, you must follow these five non-negotiable rules for kitchen installations.
1. Specify Engineered Hardwood Over Solid Timber
If you are putting wood in a kitchen, your choice of material construction is your absolute foundation of defense.
-
The Flaw of Solid Timber: Solid wood boards consist of a single, continuous piece of hardwood throughout. When exposed to the heat of an oven and the ambient moisture of boiling water, solid timber expands and contracts aggressively across its width, making it highly prone to warping and splitting in a kitchen environment.
-
The Engineered Solution: Engineered wood flooring is explicitly designed to solve this issue. It features a premium real wood wear layer (typically Oak or Walnut) bonded to multiple underlying layers of high-density plywood arranged in alternating, cross-directional patterns.
2. Apply a Site-Sealer Layer Directly Post-Installation
Most premium wood floors arrive pre-finished from the factory. While these surface coatings (such as lacquers or UV-cured oils) are excellent at protecting individual planks, they leave the raw joins between the boards entirely vulnerable.
The Kitchen Standard: Once your floor is physically laid, your installer should apply an extra coat of high-quality protective sealant or hardwax oil across the entire surface.
This liquid sealant flows directly into the micro-gaps and joints between the tongue-and-groove connections. It acts as a continuous, water-resistant barrier that stops accidental surface splashes from seeping downward into the subfloor, protecting the vulnerable edges of your planks from absorbing water sideways.
3. Enforce the “30-Second Spill Rule” and Ditch Wet Mops
No matter how advanced your top sealant coating is, it is water-resistant, not waterproof. The ultimate everyday protection for kitchen wood floors comes down to proper maintenance habits.
The 30-Second Rule
When water drops onto a properly finished wood floor, it will initially bead on the surface. However, if left unattended, gravity and capillary action will slowly pull that water past the finish and into the grain. Enforce a strict rule in your household to blot up any cooking splashes, pet bowl overflows, or sink drips immediately with an absorbent microfiber cloth.
The Danger of Traditional Mopping
Never use a traditional string mop and a bucket of water on a wood floor. Flooding the surface forces dirty water directly into the joints. Instead, use a specialized, flat microfiber spray mop with a dedicated, pH-neutral wood cleaner. The mop pad should be barely damp—cool to the touch but unable to leave standing puddles. A properly mopped kitchen floor should dry completely by itself within two to three minutes.
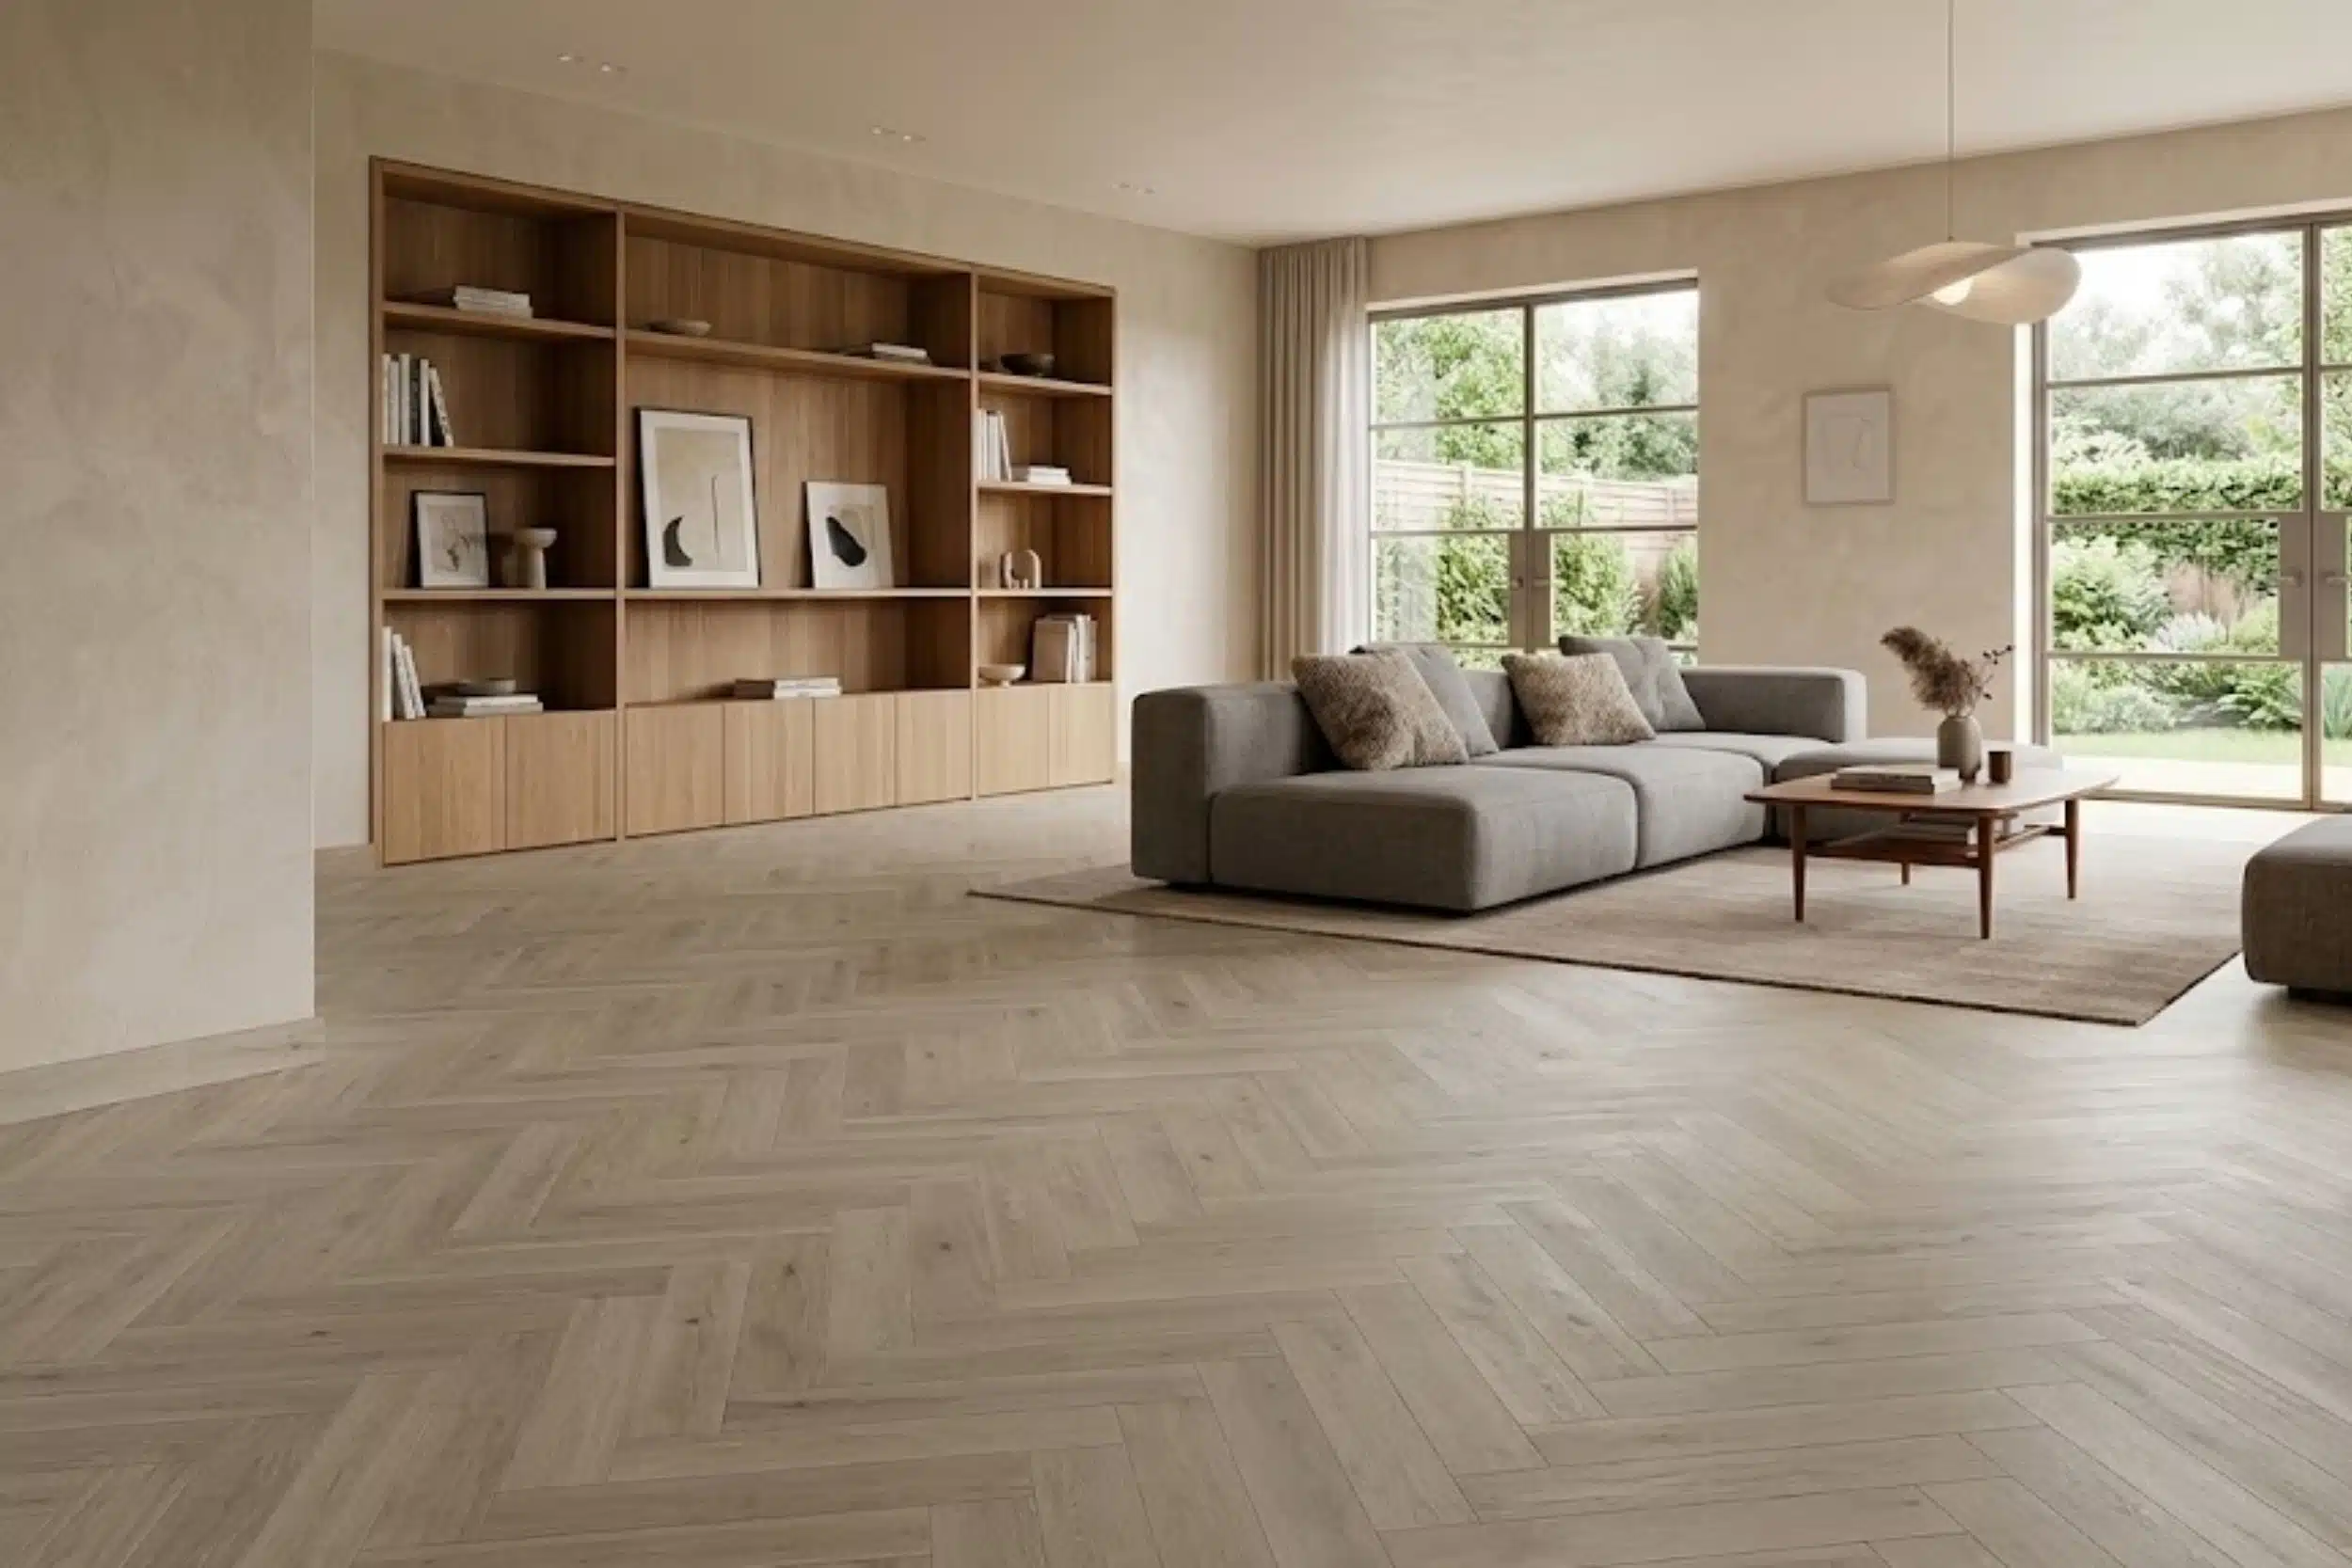
4. Deploy Strategic Visual Defense Barriers
High-risk splash zones require dedicated physical buffers to catch moisture before it ever touches your timber.
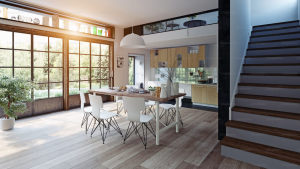
5. Control Your Kitchen’s Microclimate and Ventilation
Water damage doesn’t just come from liquid spills—it also enters wood via airborne moisture (steam and relative humidity). Heavy cooking, boiling pasta, and running hot dishwashers create localized spikes in humidity that can stress wood floors.
Keep your kitchen well-ventilated by running an extractor fan that vents directly to the outside whenever you cook, clearing humid air before it settles onto the floorboards. Aim to keep your home’s relative humidity consistently balanced between 35% and 55% using your central heating, air conditioning, or an independent dehumidifier. Keeping this climate stable stops the timber from undergoing sudden, dramatic cycles of structural swelling and shrinking.
Frequently Asked Questions
Q1: Is solid wood or engineered wood better for a kitchen installation?
Engineered wood is far superior for kitchens. Because its core layers run in cross-directional patterns, it possesses the dimensional stability required to handle the sudden shifts in temperature and humidity common to kitchens. Solid wood shifts too aggressively, which quickly leads to unsightly gaps, cupping, or buckling.
Q2: What should I do immediately if my dishwasher leaks onto my wood floor?
Turn off the dishwasher’s water supply valve immediately to stop the flow. Use towels to soak up all standing water from the surface. Set up electric fans or a dehumidifier pointed directly at the floorboards to pull moisture out of the air and accelerate drying. Do not apply direct heat guns or irons, as sudden intense heat can split the timber fibers.
Q3: What is the difference between white water stains and black water stains?
White water stains are surface-level imperfections where moisture has become trapped within the wax or lacquer finish rather than entering the timber itself. These can usually be buffed out or treated gently. Black water stains indicate that moisture has penetrated past the finish and reacted chemically with the natural tannins inside the wood. Black stains require sanding down the affected planks and applying professional wood bleaches or replacements.
Q4: Can I use a steam mop to clean engineered wood floors in a kitchen?
No, you should never use a steam mop on real wood flooring. Steam mops work by driving superheated moisture under high pressure straight down into the floor. This pressure forces water directly into the joints and beneath the wear layer, causing rapid delamination, adhesive breakdown, and board warping. Stick to a barely damp microfiber spray mop instead.
Q5: How often should I re-apply a protective sealant or oil to my kitchen wood floor?
For kitchens finished with a natural hardwax oil, you should apply a specialized liquid maintenance wax every 6 to 12 months in high-traffic zones (like in front of the cooker and sink) to keep the water-resistance intact. Floors protected with heavy polyurethane lacquers last longer, typically requiring a full professional screen and re-coat every 3 to 5 years.
Q6: Why do some rugs leave yellow or cloudy marks on kitchen wood floors?
This damage is caused by using mats with solid rubber, latex, or cheap plastic backings. These non-breathable backings trap natural vapor emissions rising up through the subfloor. Because the moisture cannot escape into the room, it becomes locked against the floor’s finish, causing a chemical reaction that yellows polyurethane or clouds oil treatments. Always use rugs with breathable felt pads.
Q7: Can I lay wood flooring underneath heavy kitchen islands and cabinetry?
It is generally recommended to install your heavy kitchen base cabinets and heavy stone islands first, and then fit your wood flooring up to the legs, hidden neatly behind the kickboards. Real wood needs to expand and contract naturally as a singular floor map. Pinning a floating wood floor down under thousands of kilograms of cabinetry locks it in place, which can cause the planks to buckle or pull apart elsewhere in the room.
Q8: Should I choose a lacquered finish or an oiled finish for a kitchen wood floor?
A lacquered finish acts like an impermeable shield over the top of the wood, providing higher immediate liquid resistance and keeping bacteria from penetrating the grain. However, if it scratches, water can sneak beneath the barrier. An oiled finish penetrates deep into the wood fibers, offering a natural look and allowing you to sand down and spot-repair small scratched sections without refinishing the entire kitchen floor. Both work well if properly maintained.
Q9: What subfloor preparation is required to prevent water issues from below?
Your installer must check that the concrete or wood subfloor is completely clean, perfectly level (within 3mm over a 2-metre span), and thoroughly dry. For concrete subfloors, laying down a dedicated liquid damp-proof membrane (DPM) or a heavy-duty 200-micron plastic underlayment sheet is vital. This stops rising moisture from the foundation from seeping up into the bottom of your new wood planks.
Q10: How do I know if the finish on my kitchen floor has worn thin and needs replacing?
Perform the “water bead test.” Drop a few small droplets of water onto high-use areas of your kitchen floor. If the water forms tight beads and sits safely on top of the wood, your finish is intact. If the water slowly spreads out and begins soaking into the wood within 30 seconds, darkening the grain, your protective barrier has worn away and the floor must be sealed immediately to avoid deep water damage.


0 Comments