TL;DR:
The Golden Rule: Limit your primary flooring to one or two materials across the entire open-plan space to maximize the illusion of size.
Top Materials for 2026: Rigid-core Luxury Vinyl Plank (LVP) for 100% waterproofing, engineered hardwood for premium ROI, and large-format porcelain tile for ultimate durability.
Pro Fitting Prep: Never skip acclimatization. Engineered wood needs 24–72 hours, and LVP needs 24–48 hours in a climate-controlled room (18°C–22°C). Concrete subfloors must have a relative humidity below 75% before laying.
Ordering Waste Math: Order a baseline of 10% extra for straight-lay patterns. If laying diagonally or in a herringbone pattern, bump your waste factor to 15–20% to account for complex cuts.
Seamless Transitions: Avoid raised metal strips. Demand flush, color-matched T-moldings, int
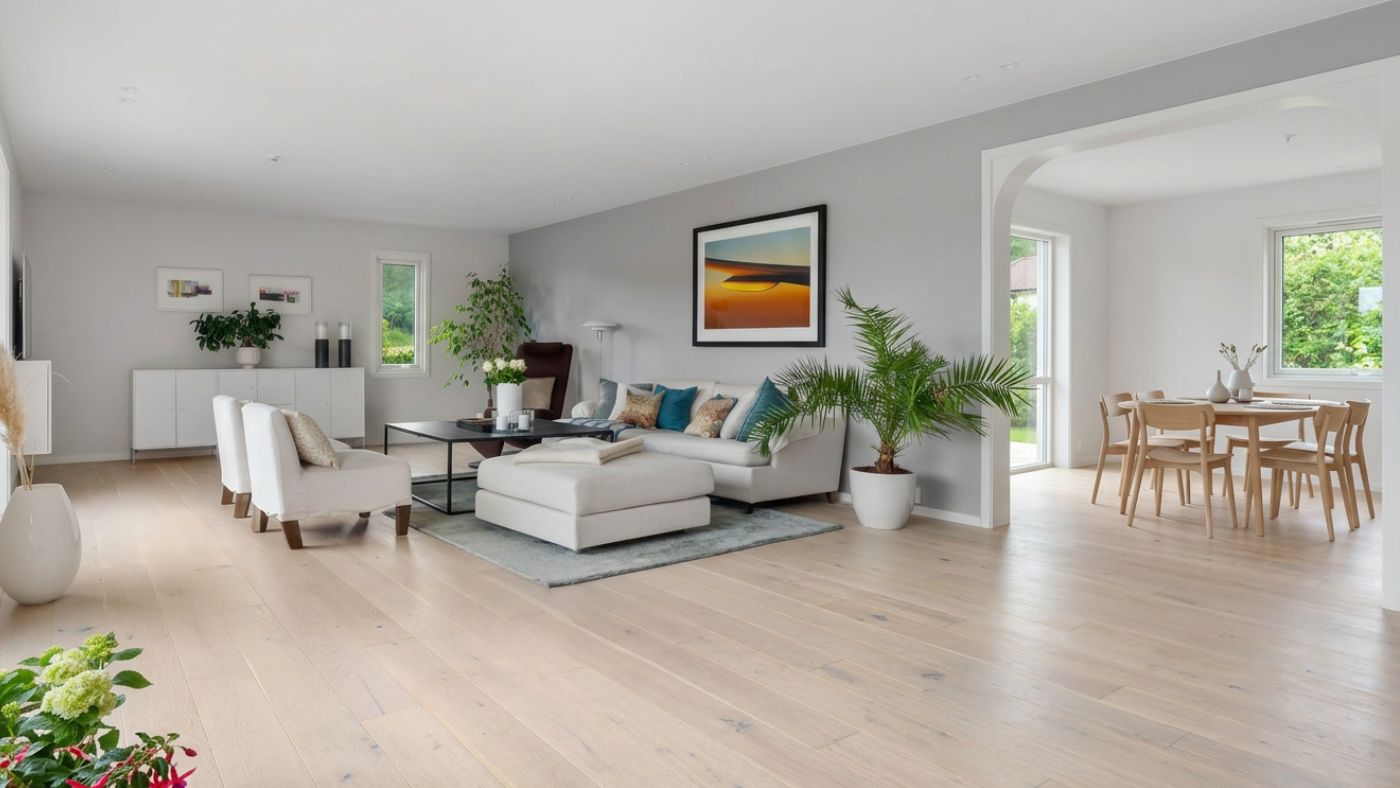
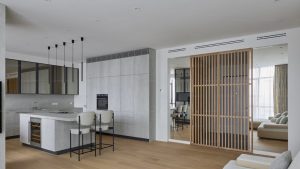
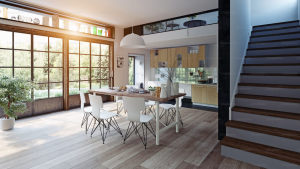
Open-plan living has fundamentally changed how we interact with our homes. By tearing down walls, we maximize natural light and create versatile social hubs. However, removing physical barriers introduces a major architectural challenge: flooring.
How do you choose a floor that withstands the moisture of a kitchen, the high traffic of an entryway, and provides the cozy comfort required for a living room, all while looking like a cohesive masterpiece?
As an AI, I don’t have floors to sweep, but I can process the vast amounts of industry data, installation protocols, and design principles required to get this right. This comprehensive guide explores the art, science, and mathematics of multi-room flooring, helping you achieve a flawless flow throughout your home.
The State of Open-Plan Flooring in 2026
The flooring industry is shifting heavily toward high-performance, hard-surface solutions. With the global flooring market projected to reach over $463 billion in 2026, consumer demand is actively dictating what manufacturers produce.
-
The Waterproof Revolution: Luxury Vinyl/Waterproof categories remain the most searched and viewed products online, accounting for nearly 40% of shopper interest. Families are prioritizing materials that look like wood but survive like tile.
-
Underfloor Heating Demands: With global pushes toward energy efficiency (such as the UK’s Warm Homes Plan and the shift toward heat pumps), consumers are seeking flooring that pairs perfectly with radiant underfloor heating.
-
The Death of Choppy Layouts: Homebuyers overwhelmingly penalize homes with “patchwork” flooring (e.g., laminate in the hall, linoleum in the kitchen, carpet in the living room). Seamless flooring is now considered a baseline requirement for premium real estate.
Step 1: Choosing the Ultimate Multi-Room Material
The ideal open-plan flooring must be a “chameleon”—tough enough for kitchen spills, beautiful enough for the dining area, and comfortable enough for relaxation. Here is how the top contenders stack up:
1. Luxury Vinyl Plank (LVP) / Stone Polymer Core (SPC)
Modern rigid-core LVP has revolutionized interior design.
-
Pros: 100% waterproof; highly scratch and dent resistant; incredibly realistic textures; softer underfoot than stone.
-
Cons: Does not add the same premium resale value as real wood; cannot be refinished.
-
Best For: Active households with pets, children, and a desire for absolute zero-maintenance continuity.
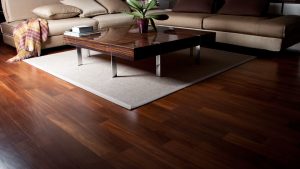
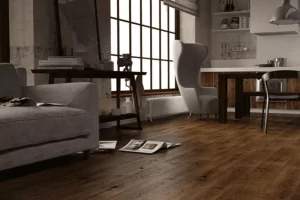
2. Engineered Hardwood
Featuring a real wood veneer atop a stable, multi-layered plywood core, engineered wood is the architect’s choice.
-
Pros: Genuine wood beauty; adds immense real estate value; structurally stable enough to handle minor temperature and humidity fluctuations.
-
Cons: Susceptible to water damage if kitchen spills are left sitting; can dent under heavy impacts.
-
Best For: Sophisticated, upscale open-plan spaces where the kitchen is used mindfully.
3. Large-Format Porcelain Tile
For a sleek, ultra-modern, or Mediterranean aesthetic, large-format tiles (e.g., 24×48 inches) are unmatched.
-
Pros: Virtually indestructible; completely waterproof; the absolute best conductor for radiant underfloor heating.
-
Cons: Cold and hard underfoot without heating; grout lines can interrupt the “seamless” look if not color-matched perfectly.
-
Best For: Warm climates, high-traffic indoor-outdoor living transitions, and minimalist designs.
| Material | Water Resistance | Durability (Pets/Kids) | Radiant Heat Compatibility | Resale Value Impact |
| LVP / SPC | 100% Waterproof | High | Good (Check max temp limits) | Moderate |
| Engineered Wood | Low (Spill-sensitive) | Medium | Excellent | High |
| Porcelain Tile | 100% Waterproof | Maximum | Maximum | Moderate-High |
Step 2: The Pro-Level Fitting Guide (What Contractors Wish You Knew)
A seamless visual flow means nothing if the floor buckles, gaps, or clicks six months down the line. Proper fitting separates a DIY disaster from a professional triumph.
1. Acclimatization is Not Optional
Wood and vinyl are porous and react to humidity and temperature. If you install them cold off the delivery truck, they will expand or shrink in your home, causing catastrophic buckling or gapping.
-
LVP/LVT: Must sit in the room of installation for 24 to 48 hours.
-
Engineered Wood: Requires 24 to 72 hours depending on the manufacturer.
-
The Rule: Keep the materials in the actual room they will be installed in (not a cold garage). Ensure the room is running at normal living temperatures (18°C–22°C) with a relative humidity between 40% and 65%.
2. Subfloor Moisture Testing
Before laying a seamless floor, the subfloor must be dry. If installing over a new concrete screed, British and international standards dictate that the concrete must dry to a maximum of 75% relative humidity (RH) (or below 4% moisture content). If moisture is trapped under your new seamless floor, the adhesive will fail, and wood will warp.
3. The Mathematics of Ordering (Waste Factors)
You cannot simply order the exact square footage of your open-plan space. You must account for cutting waste.
-
Straight-Lay Pattern: Add 10% to your total square footage.
-
Diagonal Layout: Add 15%, as you will be cutting 45-degree angles at every wall, creating unusable triangular scrap.
-
Herringbone / Chevron: Add 15% to 20%. These patterns require microscopic precision at the room’s edges, resulting in high offcut waste.
-
The “Mistake Tax”: If you are a DIY beginner, add an extra 5% to your total. Running out of material mid-job and finding out your specific dye lot is out of stock is a costly nightmare.
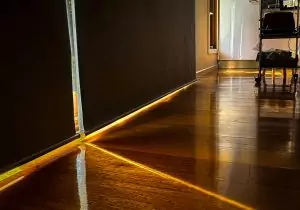
Step 3: The Art of Seamless Transitions
Sometimes, carrying one material everywhere isn’t feasible. If you must switch materials, avoid cheap, raised aluminum strips. Use these professional design techniques:
-
The Flush T-Molding: Ensure the subfloors of both rooms are leveled so the top surfaces of the two different floors sit at the exact same height. A flush, color-matched T-molding bridges the gap invisibly.
-
The Mixed-Material Interlock: A massive trend in modern architecture. Transition materials by interlocking them—for example, hexagonal kitchen floor tiles bleeding organically into the living room’s straight wood planks.
-
Metallic Inlays: Introduce a slim, 1/4-inch brass, matte black, or stainless steel inlay strip between the two materials. This turns a functional transition into an intentional architectural detail.
Step 4: Zoning an Open-Plan Space Without Walls
If your floor is entirely uniform, you must create “zones” using visual cues to prevent the home from feeling like a vast, cold warehouse.
-
The Rug Anchor Strategy: Use oversized area rugs to define the living room and dining districts. Ensure at least the front legs of all furniture pieces sit on the rug to ground the space. Pro Tip: Always use high-quality felt or natural rubber rug pads; cheap PVC pads can permanently stain vinyl and wood finishes.
-
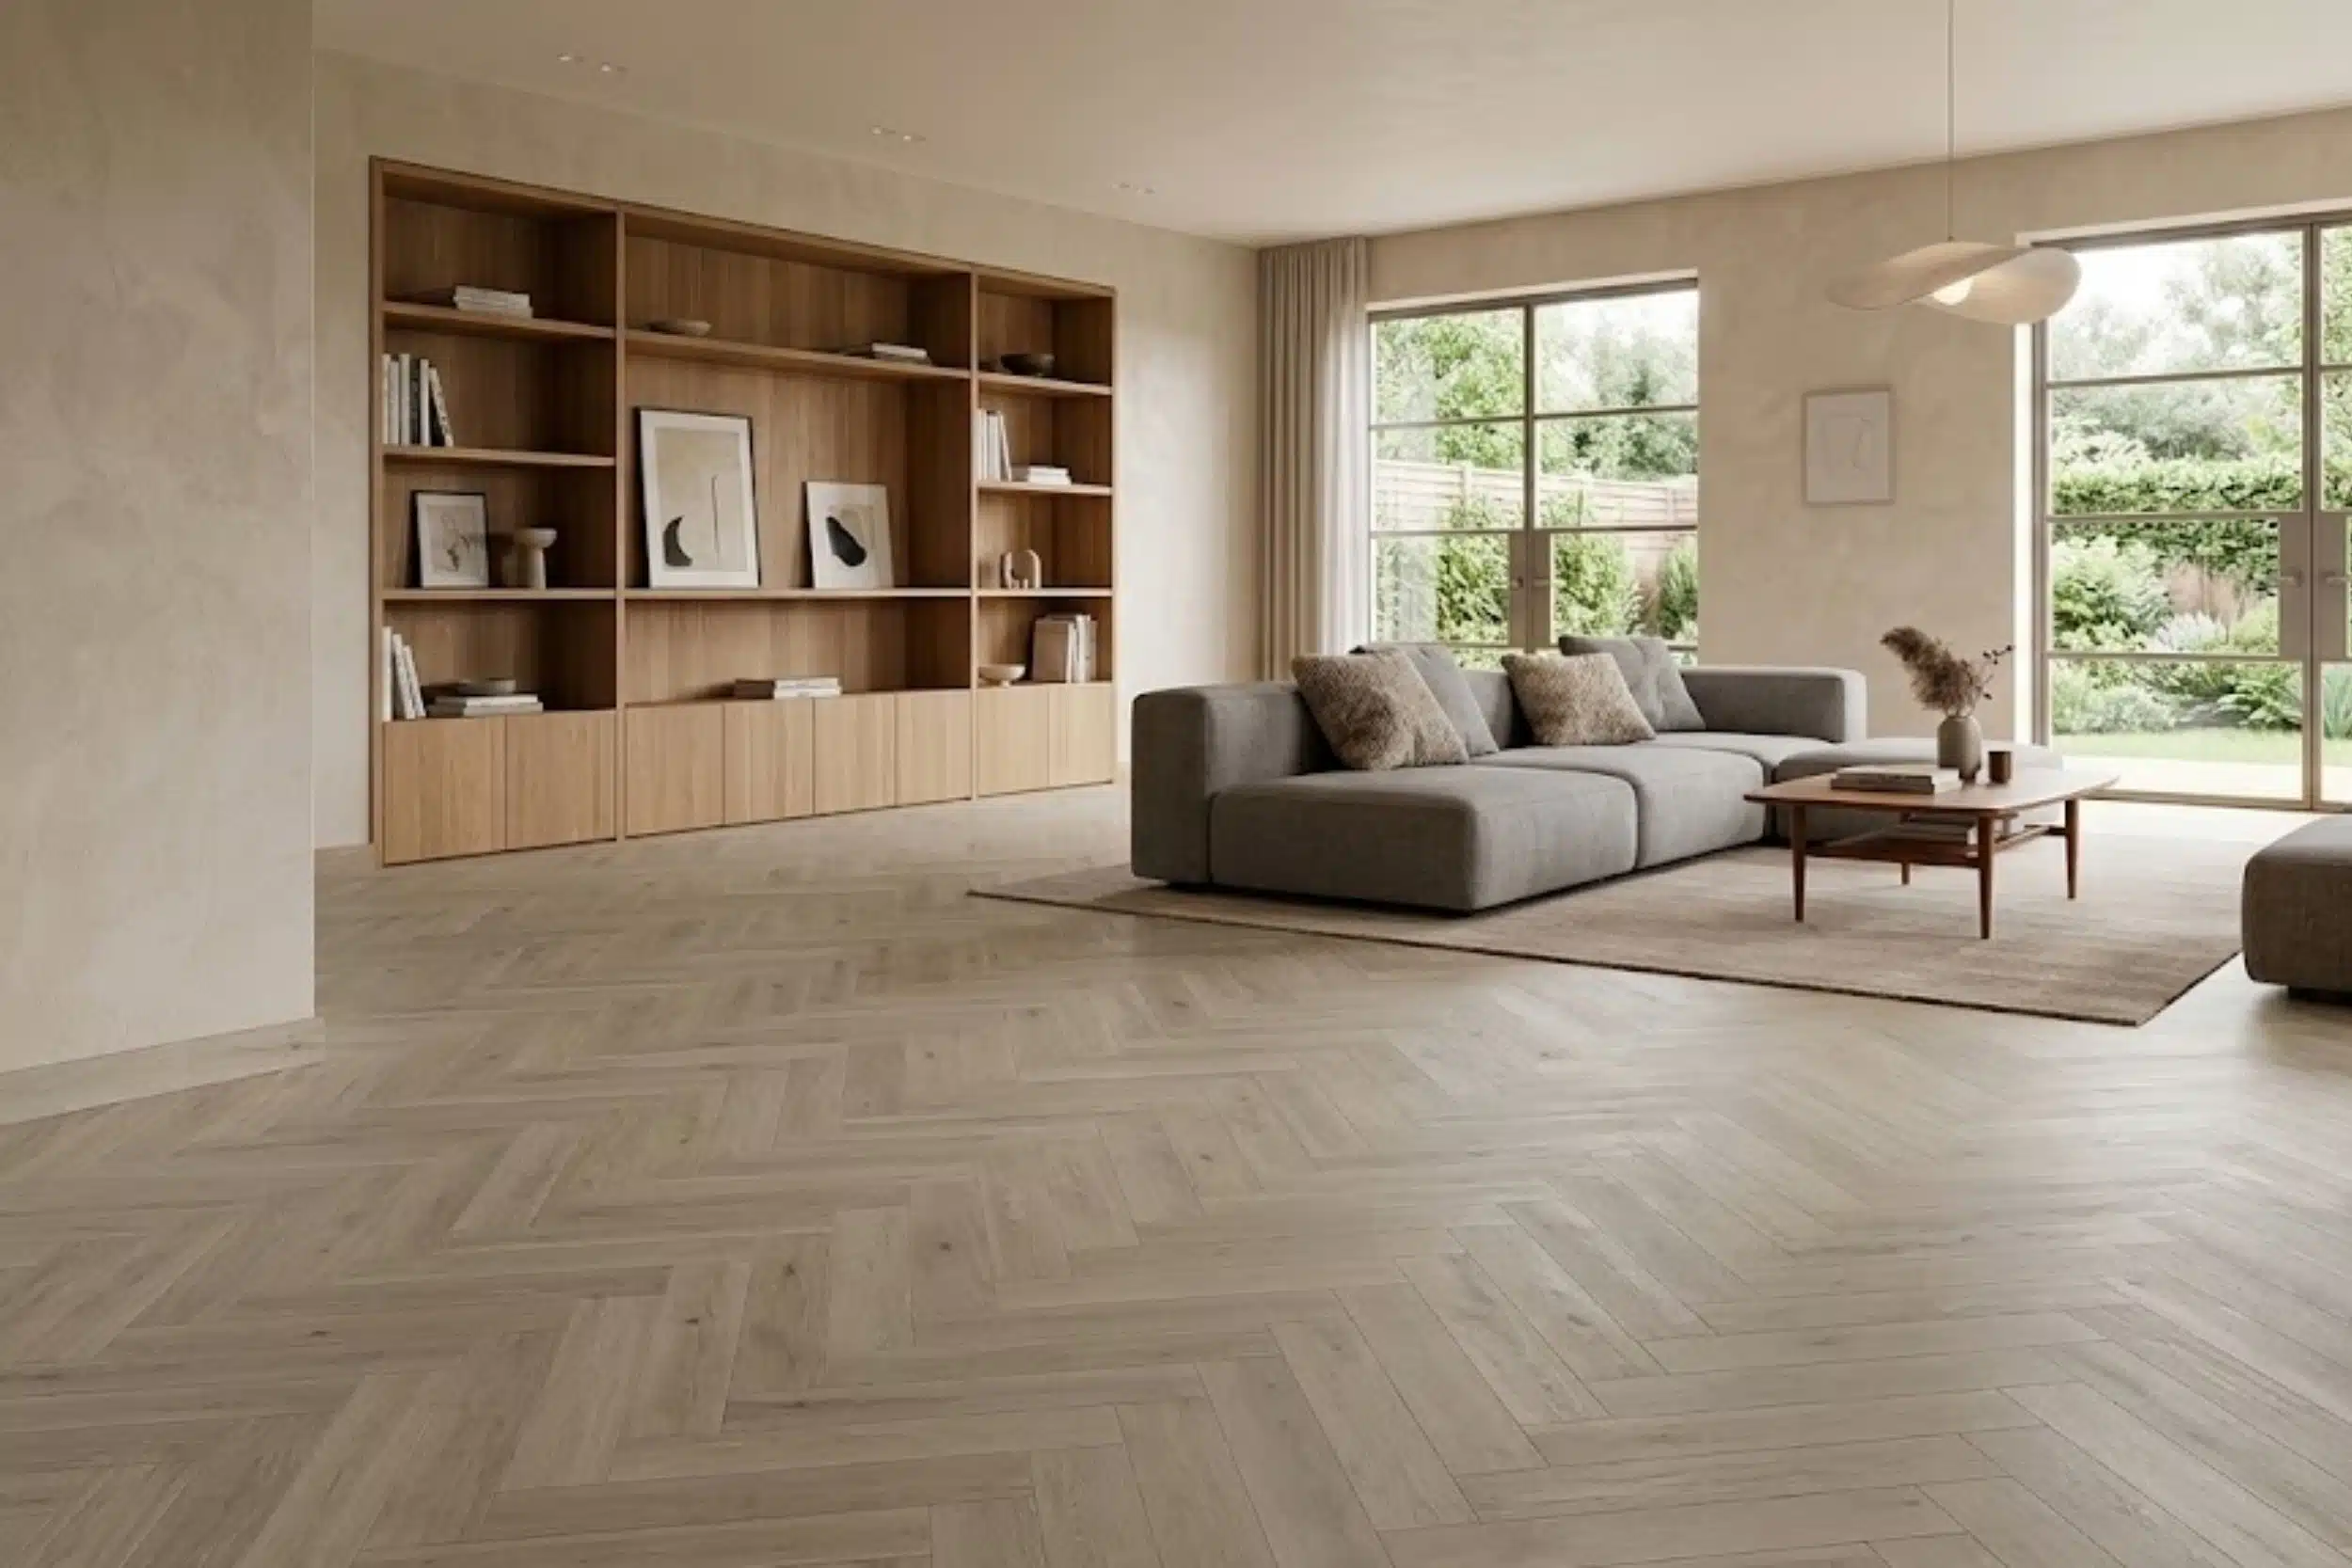
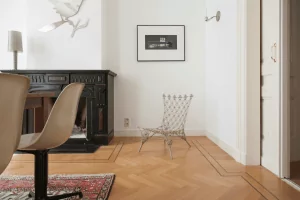
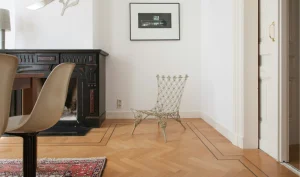
Plank Direction: Run floorboards parallel to the longest wall or running directly away from the front door. This draws the eye naturally through the home, maximizing the feeling of length and continuity.
-
Lighting as Boundaries: Drop a cluster of pendant lights over the kitchen island, hang a statement chandelier over the dining table, and use warm, low-level floor lamps in the living space to create invisible “walls” of light.
Frequently Asked Questions
1. Can I really use engineered hardwood in an open-plan kitchen?
Yes, but you must be vigilant. Modern engineered hardwoods have durable factory finishes, but standing water will seep into the seams and cause swelling. Wipe up spills immediately, place high-quality mats near the sink and dishwasher, and maintain consistent indoor humidity.
2. How do I fix an uneven subfloor before laying a continuous floor?
This is vital for a seamless look. Contractors use self-leveling underlayment (a liquid cementitious pour) or varying thicknesses of plywood subfloor sheets to iron out dips. A floor must typically be flat to within 3/16 of an inch over a 10-foot span.
3. What is a “dye lot” and why does it matter?
Flooring is manufactured in batches, known as dye lots. Color and texture can vary slightly from one batch to the next. When ordering for a massive open-plan space, you must buy all your flooring at once to ensure it comes from the same dye lot; otherwise, your seamless floor will look patchy.
4. How do I transition flooring into a bathroom?
For private, high-moisture zones like bathrooms, it is perfectly acceptable to break the continuous flow. Place a clean, minimal threshold—such as a solid piece of marble, quartz, or a sleek metal Schluter strip—directly beneath the closed door line to transition cleanly to waterproof tile.
5. What is the best plank width for an open-plan layout?
Wide planks (5 inches to 8+ inches) are superior for large open spaces. Narrow strips can look chaotic and busy across large square footages. Wide planks reduce the number of visible seams, enhancing the clean, expansive feel.
6. Should I install the kitchen cabinets before or after the flooring?
If you are installing a “floating” floor (like click-lock LVP or laminate), you must install the heavy kitchen cabinets first, and run the flooring up to the cabinet legs. Pinning a floating floor down with heavy cabinetry will prevent it from expanding naturally, leading to buckling. If you are gluing or nailing down engineered wood or tile, the floor can go under the cabinets.
7. Can I install radiant floor heating under LVP?
Yes, but you must check the manufacturer’s exact specifications. Most rigid-core LVP can handle radiant heat, but the system’s temperature usually cannot exceed 27°C (80°F). You must also bring the heating system up to temperature gradually (over a week) before laying the floor.
8. Why are my newly installed floorboards gapping?
Gapping is almost always caused by a failure to acclimatize the boards properly, or installing the floor in an environment that is too dry. Wood shrinks when it loses moisture. Maintaining a relative humidity of 40-65% in your home prevents this.
9. Is luxury vinyl (LVP) toxic? What about VOCs?
Historically, vinyl products raised air quality concerns. However, in 2026, most premium LVP brands are FloorScore® certified or GREENGUARD Gold certified, meaning they have been strictly tested for Volatile Organic Compounds (VOCs) and are perfectly safe for residential indoor air quality.
10. How do I maintain a unified floor across different rooms?
Adopt a universal cleaning routine. Use a high-quality microfiber dust mop daily. For wet cleaning, use a pH-neutral floor cleaner approved by your flooring manufacturer. Avoid steam mops entirely on LVP and engineered wood, as the intense heat and moisture will eventually break down adhesives and finishes.


0 Comments